How to Set Up Mobile Proxies in BitBrowser
 2026.02.28 06:14
 petro
petroMobile proxies are widely used in digital marketing, account management, ad verification, QA testing, and regional content testing. When configured correctly inside BitBrowser, they allow professionals to maintain structured browsing environments while managing location-specific workflows.
This guide explains how to set up mobile proxies in BitBrowser properly and securely.
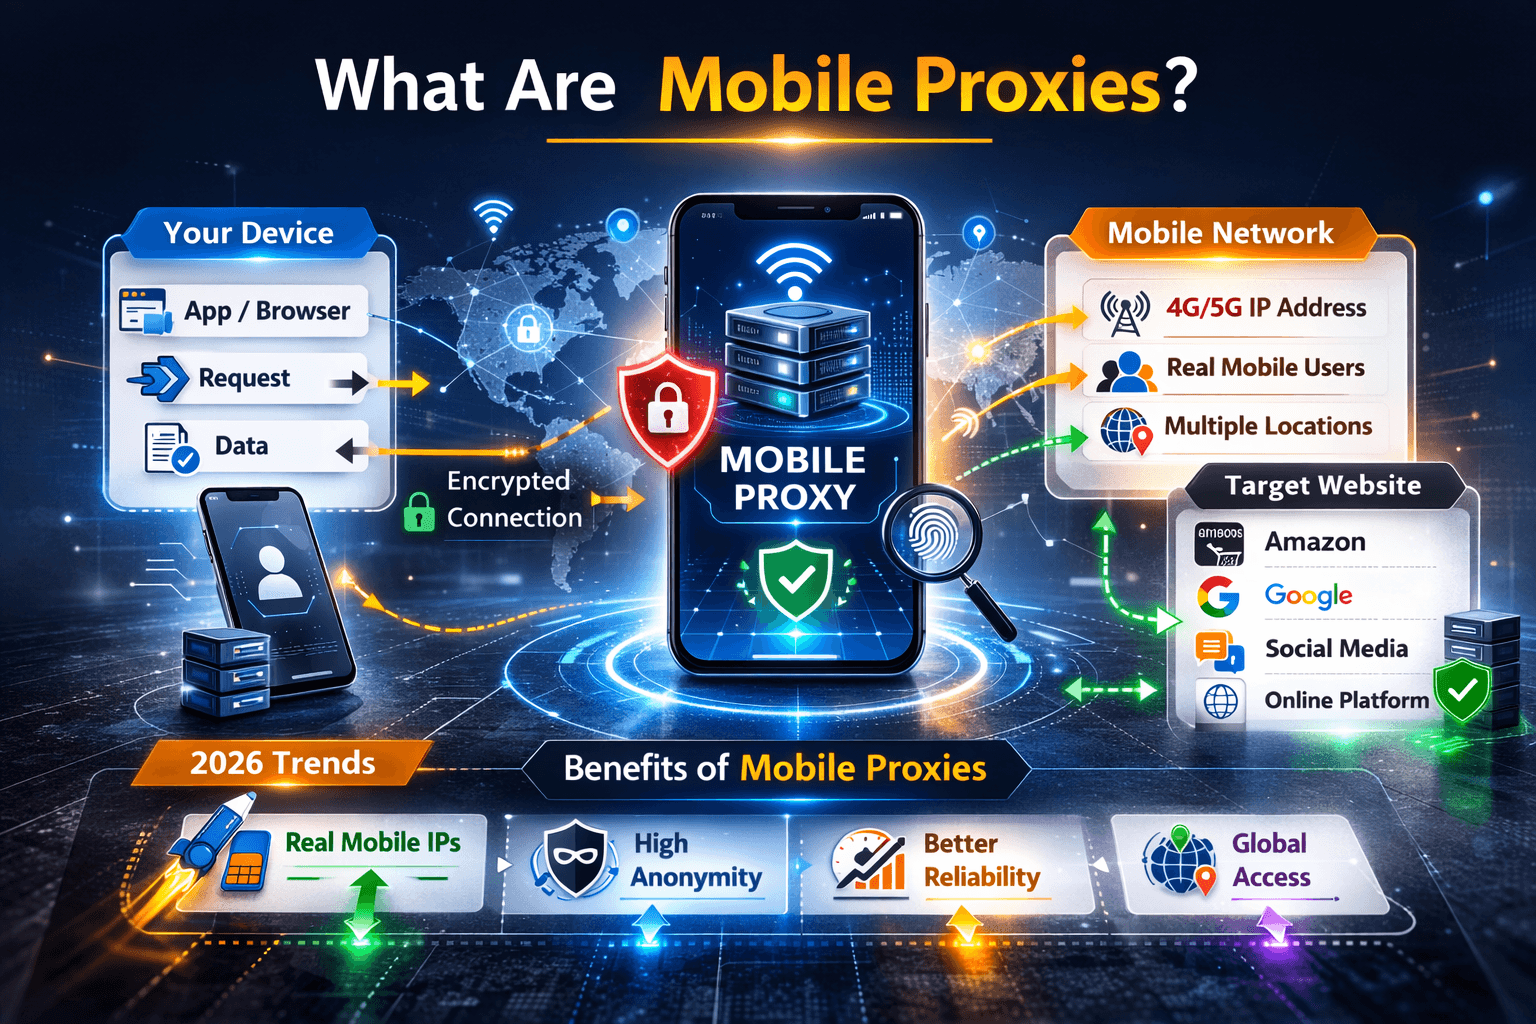
What Are Mobile Proxies?
Mobile proxies route your internet connection through real mobile carrier IP addresses (3G/4G/5G networks).
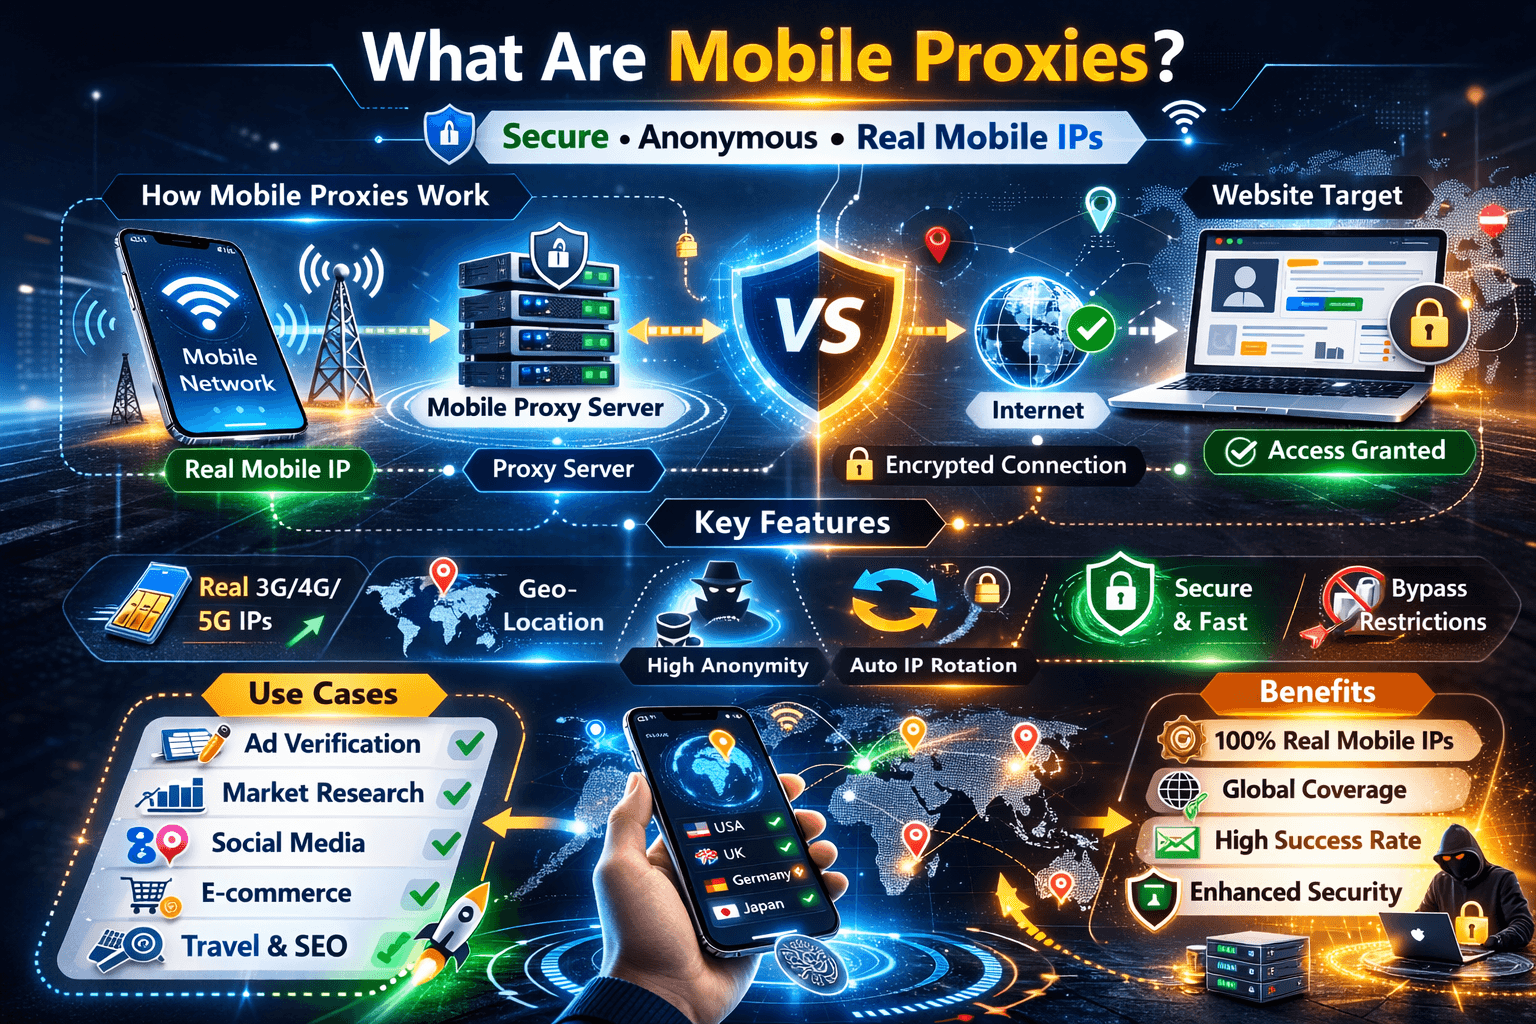
Unlike data center IPs, mobile IPs are:
- Issued by mobile network operators
- Shared across real mobile users
- Frequently rotated by carriers
- Often considered higher trust compared to static IPs
They are commonly used for:
- Regional ad testing
- Social media management
- Market research
- Geo-based content verification
- QA automation testing
Important: Always ensure your proxy usage complies with platform Terms of Service and local regulations.
Why Use Mobile Proxies in BitBrowser?
BitBrowser allows you to create isolated browser profiles. When combined with mobile proxies, each profile can:
- Operate with a dedicated IP
- Maintain regional consistency
- Avoid cross-session conflicts
- Improve structured account management
The goal is professional organization and stable workflows — not bypassing platform policies.
Step-by-Step: How to Set Up Mobile Proxies in BitBrowser
Step 1: Obtain Mobile Proxy Credentials
Before configuration, you need proxy details from your provider.
You will typically receive:
- Proxy IP address
- Port number
- Username
- Password
- Protocol (HTTP / HTTPS / SOCKS5)
Some providers offer rotating endpoints, others provide static mobile IP sessions.
Choose according to your workflow needs.
Step 2: Open BitBrowser Dashboard
Launch BitBrowser
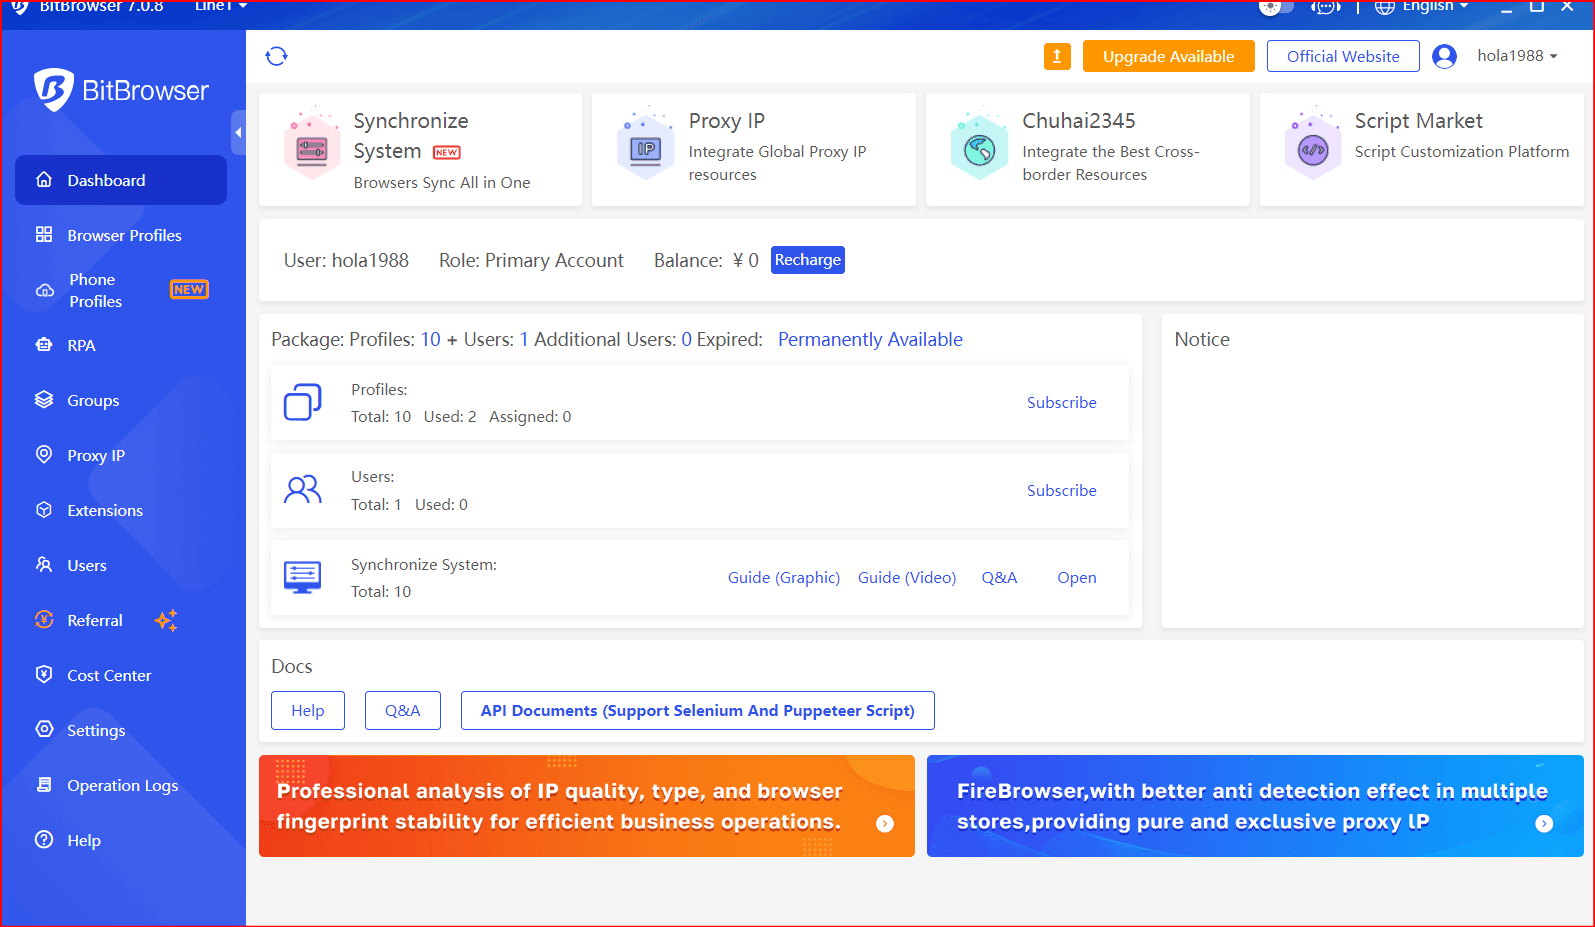
- Log into your account
- Navigate to the “Profiles” section
You can either create a new profile or edit an existing one.
Step 3: Create or Edit a Browser Profile
Click:
Create Profile (or Edit existing profile)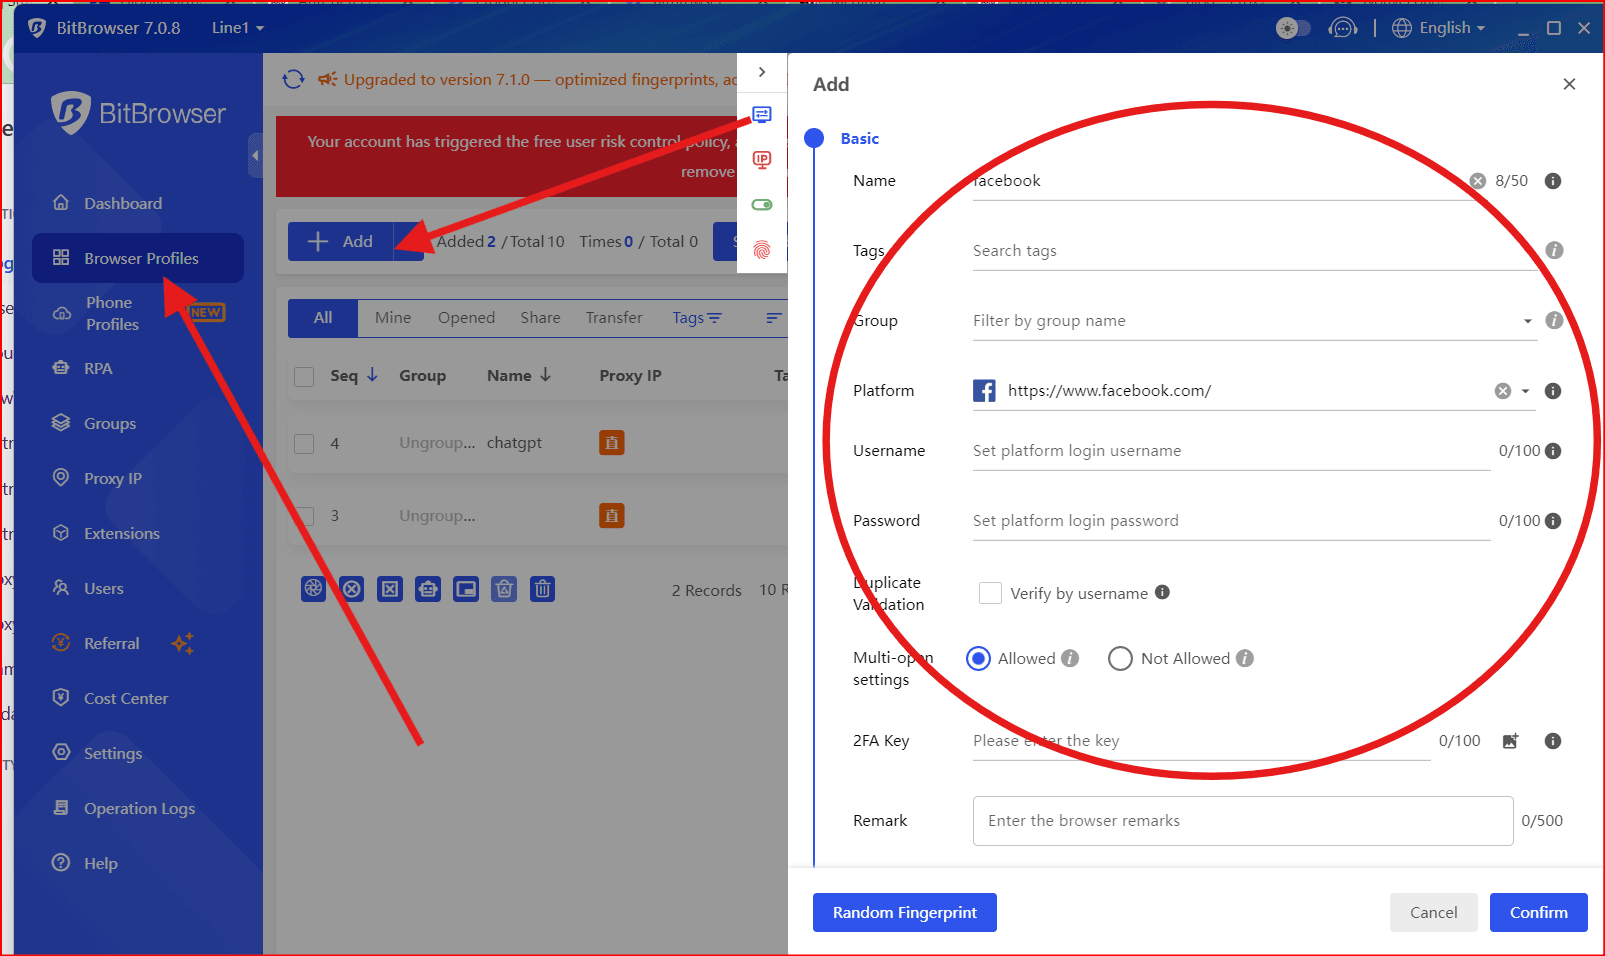
Fill in:
- Profile name (Example: “Instagram – US Mobile”)
- Operating system settings
- Browser fingerprint configuration
Clear naming prevents confusion later.
Step 4: Configure the Proxy Settings
Inside the profile settings: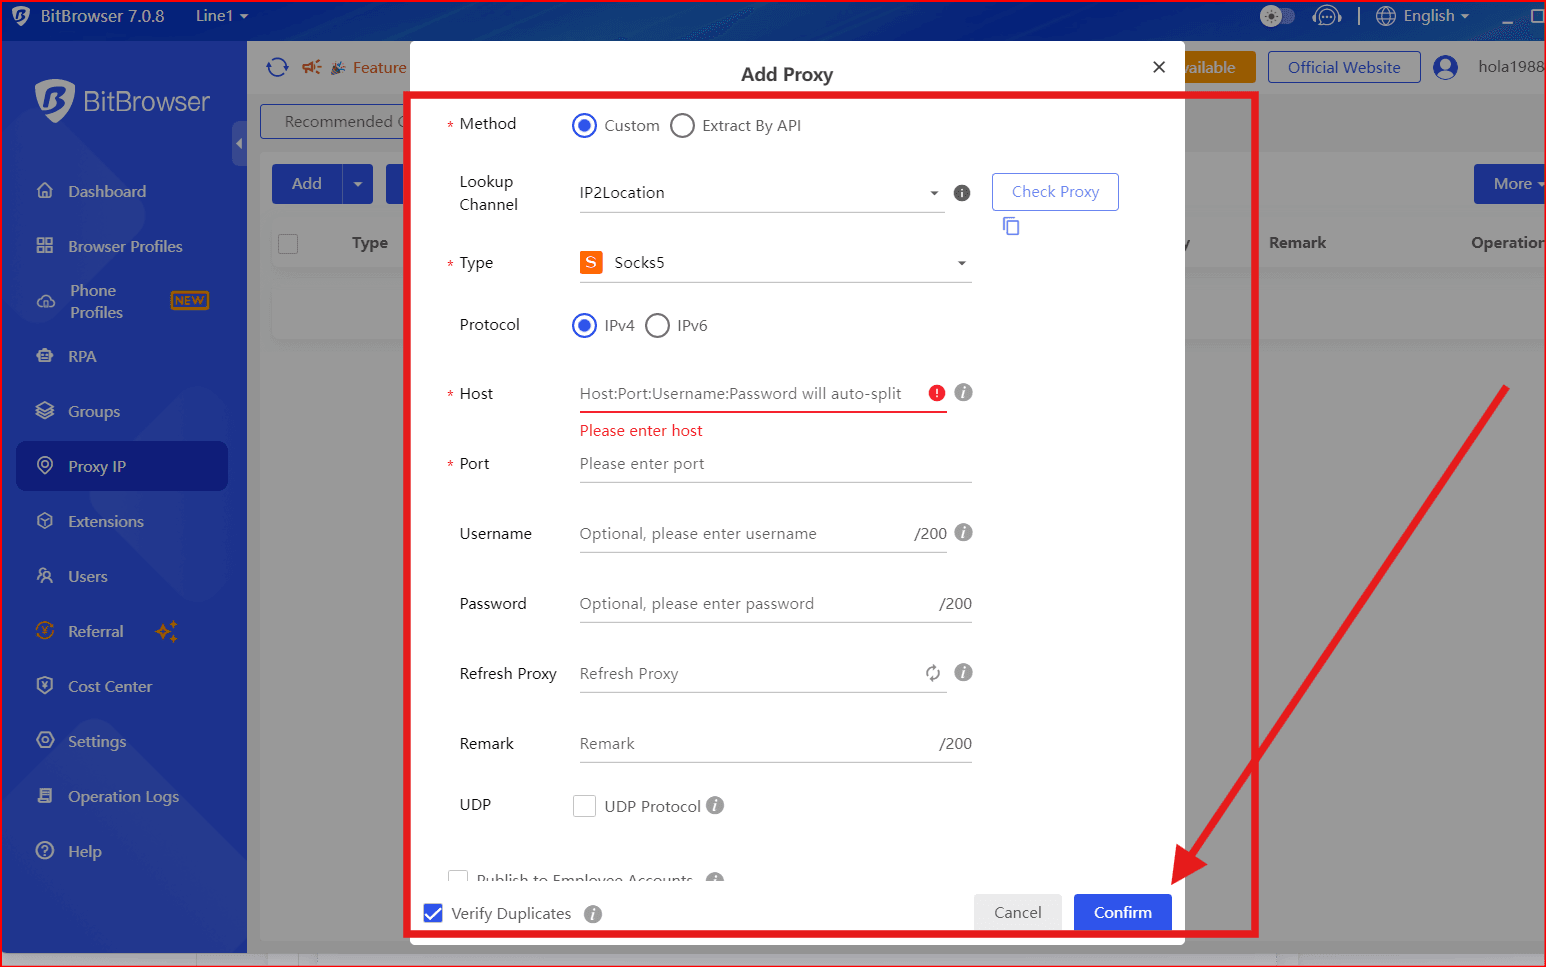
- Locate the Proxy Configuration section
- Select proxy type (HTTP / HTTPS / SOCKS5)
- Enter:
- IP Address
- Port
- Username
- Password
- Click “Check Proxy” to verify connection
- Save profile
If configured correctly, BitBrowser will confirm the connection.
Step 5: Test IP and Location
After launching the profile:
- Visit an IP-checking website
- Confirm the IP matches the mobile provider
- Verify country and region
- Check that DNS and WebRTC settings are aligned
Consistency between fingerprint settings and IP region is important for stability.
Best Practices for Mobile Proxy Setup
1. Maintain Regional Consistency
If your account targets the US:
- Use a US mobile proxy
- Set timezone to US
- Align language settings
- Match browser fingerprint to region
Mismatched signals can trigger security reviews.
2. Avoid Frequent IP Switching
Mobile networks naturally rotate IPs. However:
- Avoid manually changing IP too often
- Maintain session stability
- Keep login patterns consistent
Abrupt behavior changes increase risk.
3. Use One Proxy Per Profile
Best practice:
- One mobile proxy session per browser profile
- Do not share the same proxy across multiple sensitive accounts
Isolation improves reliability.
4. Enable Security Layers
Even with proxies:
- Activate 2FA
- Use strong password management
- Assign clear team roles
- Monitor account activity
Proxies do not replace account security.
Rotating vs Sticky Mobile Proxies
Rotating Mobile Proxies
- IP changes periodically
- Good for data collection tasks
- Less predictable for login-based workflows
Sticky (Session-Based) Mobile Proxies
- Maintain the same IP for a set duration
- Better for account management
- More stable for login sessions
Choose based on your operational needs.
Common Setup Mistakes to Avoid
❌ Using a proxy country different from account region
❌ Sharing one proxy across multiple accounts
❌ Ignoring fingerprint-IP consistency
❌ Rapid switching between profiles
❌ Not testing IP before logging into accounts
Structured setup prevents avoidable issues.
When Should You Use Mobile Proxies in BitBrowser?
Mobile proxies are useful when:
✔ Managing regional accounts
✔ Testing geo-targeted campaigns
✔ Running ad verification
✔ Performing mobile-focused QA testing
✔ Conducting market research
They are not intended for violating platform rules.
Compliance Reminder
Before using mobile proxies:
- Review platform Terms of Service
- Ensure accounts are authorized
- Operate transparently
- Avoid creating duplicate or unauthorized accounts
Long-term stability depends on compliance.
Final Thoughts
Setting up mobile proxies in BitBrowser is straightforward when done properly:
- Get reliable mobile proxy credentials
- Create isolated browser profiles
- Configure proxy settings accurately
- Maintain consistency
- Follow security best practices
The key to professional multi-account management is structure, discipline, and compliance.
Mobile proxies are tools — your workflow determines their effectiveness.
 Multi-Account Management
 Prevent Account Association
 Multi-Employee Management
Recommended
See More ![]()