How to Choose the Right Proxy: 7-Step Checklist
 2025.08.13 17:43
 BitBrowser
Choosing the right proxy isn’t just about grabbing the first IP address you find online. It’s about matching the right type of proxy to your exact goals. If you choose wrong, you could face bans, wasted budgets, failed campaigns, or worse, compromised security.
With so many options, residential, mobile, datacenter, rotating, static, it’s easy to get overwhelmed. The good news? By following a clear 7-step checklist, you can confidently pick the perfect proxy for your needs and avoid common pitfalls.
Step 1: Identify Your Use Case
Before you even start comparing providers, ask yourself: Why am I getting a proxy in the first place?
Proxies are used for a wide range of purposes:
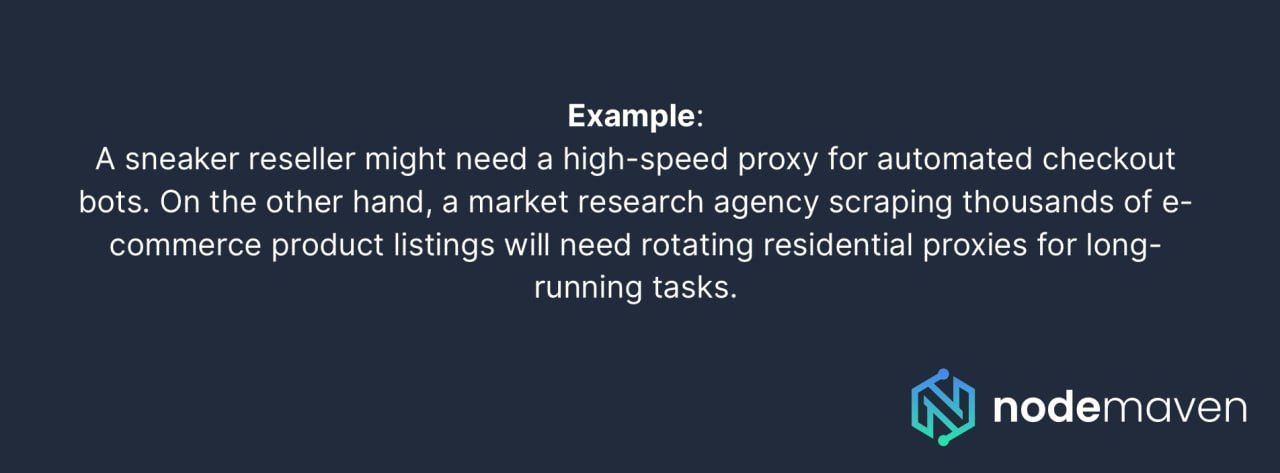
- Web scraping – Collecting product prices, reviews, or research data from multiple sites without being blocked.
- Social media automation – Running multiple accounts for marketing campaigns without triggering platform bans.
- Ad verification – Checking if your ads are displayed correctly across different countries and devices.
- E-commerce monitoring – Tracking competitor prices, stock levels, and product launches in real time.
- Privacy and security – Masking your IP address while browsing to avoid tracking.
Mistake to avoid: Jumping into a subscription before clearly defining your needs often results in paying for the wrong proxy type or overpaying for features you won’t use.
Once you know exactly why you need a proxy, the next step is matching that goal to the type of proxy that will work best.
Step 2: Choose the Right Proxy Type
Once you know your goal, it’s time to match it to the right proxy type.
Main proxy types:
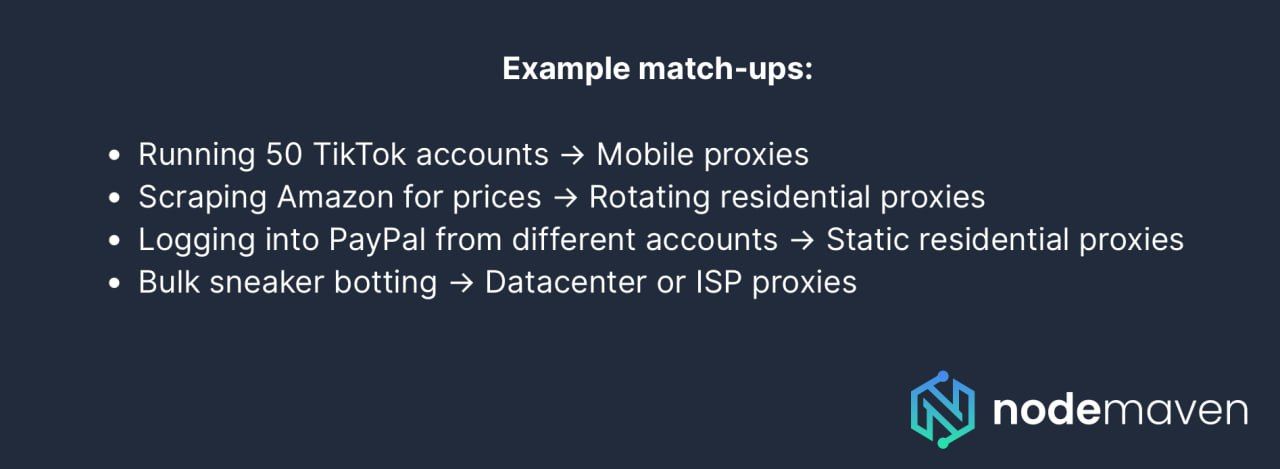
- Residential proxies – IPs from real homes, extremely hard to detect. Best for trust-sensitive tasks like social media, e-commerce, and ad verification.
- Mobile proxies – IPs assigned by mobile carriers; carry the highest trust score online. Perfect for app-based automation or platforms with strict anti-bot measures.
- Datacenter proxies – IPs from data centers, not tied to ISPs. Fast and cheap, but easily blocked by strict websites.
- Static residential proxies – Residential IPs that stay the same over time, ideal for persistent sessions like long-term account management.
- Rotating proxies – Change automatically per request or at intervals. Great for large-scale web scraping or avoiding IP bans.
Tip: If you’re unsure, start with a small mixed plan (e.g., rotating residential + a few static IPs) and test before scaling.
Now it’s time to think about where that IP should be located.
Step 3: Check Proxy Location Coverage
Geo-targeting is crucial if your task is location-sensitive.
Why location matters:
- Ad verification requires checking campaigns in specific regions.
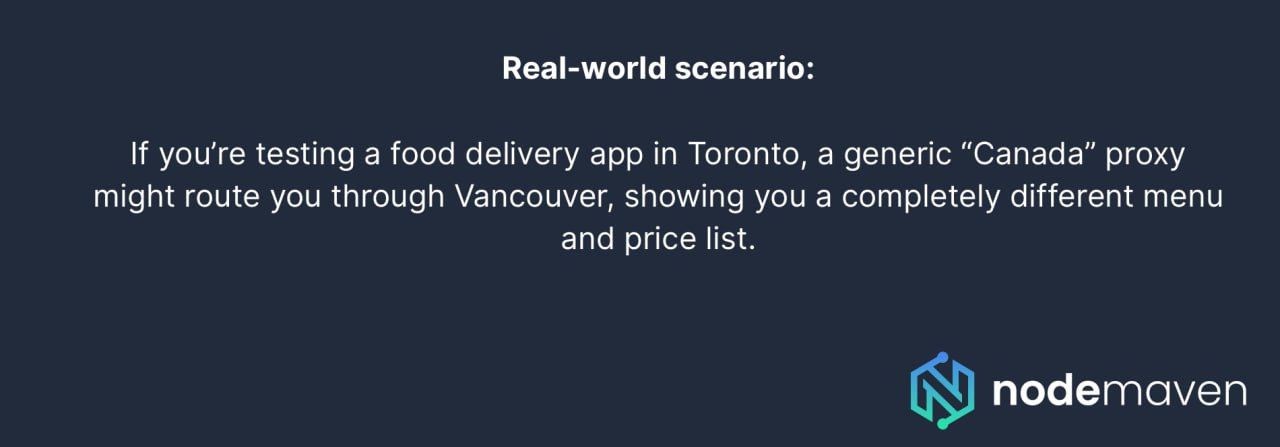
- Price comparisons often vary by city or country.
- Some websites display different content based on IP location.
What to look for in coverage:
- Country-level targeting – Access sites as if you’re in a specific country.
- City-level targeting – Narrow access down to the exact city.
- ISP/ASN targeting – Match a specific internet provider for better trust.
Mistake to avoid: Choosing a provider with limited IP diversity—it can lead to reusing the same IP, which risks bans.
Of course, having the right location is meaningless if your proxy is too slow or unreliable to complete the task, so let’s tackle performance next.
Step 4: Verify Speed and Reliability
Your proxy could have the perfect location and type—but if it’s slow or unreliable, your project fails.
Performance factors to test:
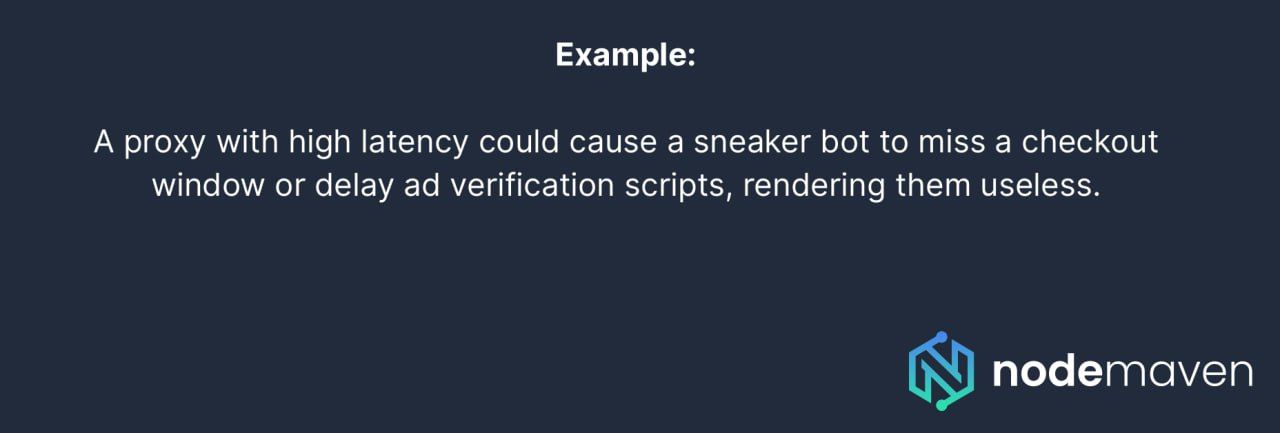
- Latency – The time it takes for your request to get a response.
- Bandwidth limits – Some providers cap data, so check if it’s enough for your needs.
- Uptime guarantees – Look for 99%+ uptime.
Testing tip:
Run speed tests and trial tasks before committing. For scraping, try a batch of requests during peak hours to see if speed remains stable.
Step 5: Review Authentication Options
How you log into your proxy matters for both convenience and security.
Two main methods:
- Username/password authentication – Flexible for switching devices or sharing with a team.
- IP whitelisting – Allows only pre-approved IPs to use the proxy, improving security.
Use case fit:
- For automation tools and scripts → Username/password is more flexible.
- For sensitive projects or solo use → IP whitelisting adds an extra security layer.
Pro tip: Some premium providers allow dual authentication, letting you use both methods for different situations.
After setting up authentication, the next step is ensuring your provider is trustworthy, because even the best proxy is useless if the source is shady.
Step 6: Check the Provider’s Reputation
Not all proxy providers are created equal. Some use IPs sourced from hacked devices or shady networks, risking your security and even legal trouble.
How to vet providers:
- Look for transparent IP sourcing with user consent.
- Read independent reviews and case studies.
- Check for clear refund or trial policies.
- See if they provide 24/7 support.
Red flags:
- No information on where IPs come from.
- Prices that seem “too good to be true” (often low-quality IPs).
- No customer support or response time guarantees.
Step 7: Compare Pricing and Scalability
Finally, ensure the proxy fits your budget and can grow with your needs.
Common pricing models:
- Pay-per-GB – Best for data-heavy projects with predictable usage.
- Per-IP plans – Ideal for static IP tasks like account management.
- Unlimited bandwidth – Rare, but excellent for continuous automation.
Scalability tips:
- Choose a provider that allows upgrading without penalties.
- For business use, look for API integration and bulk account management.
Now that you’ve walked through all seven steps, let’s look at a provider that covers every base so you don’t have to shop around endlessly.
Why NodeMaven Makes Choosing Easy
NodeMaven simplifies this entire process by offering:
- Residential proxies, mobile proxies, and rotating/static residential proxies in one platform.
- Global geo-targeting at country, city, and ISP levels.
- High-speed infrastructure with 99% uptime.
- Ethically sourced IPs from real user devices.
- Flexible pricing for startups and enterprises.
Whether you’re scaling an e-commerce monitoring project, running multi-platform ad campaigns, or scraping large datasets, NodeMaven ensures your proxy setup is reliable, secure, and optimized for your use case.
With Promo code BIT100, you’ll get double traffic. The offer is not limited in time and is valid for any package.
Final Thoughts
The perfect proxy is the one that fits your needs, not just the one with the lowest price tag. By following this 7-step checklist, you can avoid common mistakes, choose the right proxy type, ensure speed and stability, and work only with trusted providers.
When in doubt, start small, test thoroughly, and scale up with a provider that can grow with you, because in the proxy world, reliability is everything.
 Multi-Account Management
 Prevent Account Association
 Multi-Employee Management
Recommended
See More ![]()