Why You Must Install the Facebook Pixel on Your Shopify Store?
 2025.08.08 18:00
 BitBrowser
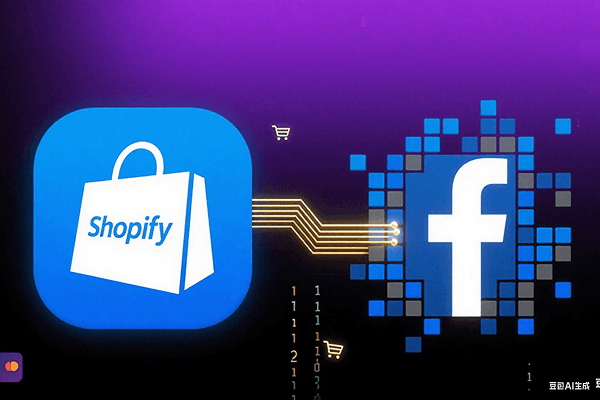
Facebook Pixel (Meta Pixel) is a piece of tracking code embedded in a website that records user actions (such as purchases, add-to-cart, registrations, etc.) and feeds this data back to the Facebook advertising system. For independent e-commerce store owners, its core values lie in:
1. Precise Ad Optimization: Based on user behavior data, it automatically targets high-conversion audiences, reducing cost per acquisition;
2. Remarketing Powerhouse: Automatically delivers ads to lost users (e.g., those who added to cart but didn't pay), recovering potential orders;
3. Data-Driven Decision Making: Analyzes ad ROI, identifies high-performing advertising channels, and avoids budget waste.
Four Steps to Install Shopify Pixel (2025 Latest Version)
Step 1: Create a Facebook Ads Account
• Visit https://business.facebook.com/, register with your personal account, and verify your business information (requires a business license or legal representative's identity).
Step 2: Generate Pixel Code
• In Meta Business Suite, click 【Data Sources】→【Pixels】→【Create New Pixel】. Name the pixel (recommended to include store name + date) and check "Domain Verification" (enter your Shopify store domain).
Step 3: Configure in Shopify Admin
1. Log in to your Shopify Admin, go to 【Online Store】→【Preferences】;
2. In the "Facebook Pixel" field, paste the copied Pixel ID;
3. Click 【Save】 to complete basic integration.
Step 4: Verification & Event Configuration
• Verify Installation: Install the Chrome extension "Meta Pixel Helper". Visit your store page; if the extension shows a green icon, setup is successful;
• Key Event Tracking: In Facebook Events Manager, enable the 8 standard events like "Purchase", "AddToCart", and prioritize them (e.g., Purchase > AddToCart > Registration > PageView).
Troubleshooting Tip: If data is duplicated, check if pixel code is redundantly embedded in your Shopify theme code (theme.liquid) or checkout page - remove duplicates if found.
Advanced Tips: Multi-Pixel Management & Data Security
• One Store, Multiple Pixels: To track different campaigns (e.g., new product launch/holiday sale), add multiple custom pixel codes via Shopify 【Settings】→【Customer Events】. Remember to manually delete the default `fbq('track', 'PageView');` code to avoid conflicts;
• Reinforce with Conversions API (CAPI): Install apps like "Omega Facebook Pixel" from the Shopify App Store. After binding your Access Token, it enhances data reliability via server-to-server connection (especially crucial under iOS privacy restrictions).
Why You Also Need BitBrowser?
When managing multiple stores, ad accounts, or team collaboration, traditional browsers easily trigger Facebook's risk controls, leading to ad account restrictions. BitBrowser offers a professional solution:
1. Isolated Browser Environments: Creates unique browser fingerprints (isolated Cookies, UA, Timezone) per store/ad account, preventing association and bans;
2. Team Operation Audit: Supports sub-account permission management (e.g., ops staff only handle pixels, finance only views reports), with traceable operation logs;
3. Automation Scripts: Automates repetitive tasks like pixel health checks and data exports, boosting operational efficiency.
Ideal for: Agencies managing multiple client stores | Brands with multi-site operations | Collaborative advertising teams.
Data is the oxygen of your independent store, and the pixel is the oxygen tube – from precise audience targeting to recovering lost orders, every step relies on its accurate feedback. Deploy your pixel now using the steps above, and fortify your data security with BitBrowser, ensuring your ad budget is truly "spent where it counts".
Click to Claim 10 Free Profiles
 Multi-Account Management
 Prevent Account Association
 Multi-Employee Management
Recommended
See More ![]()