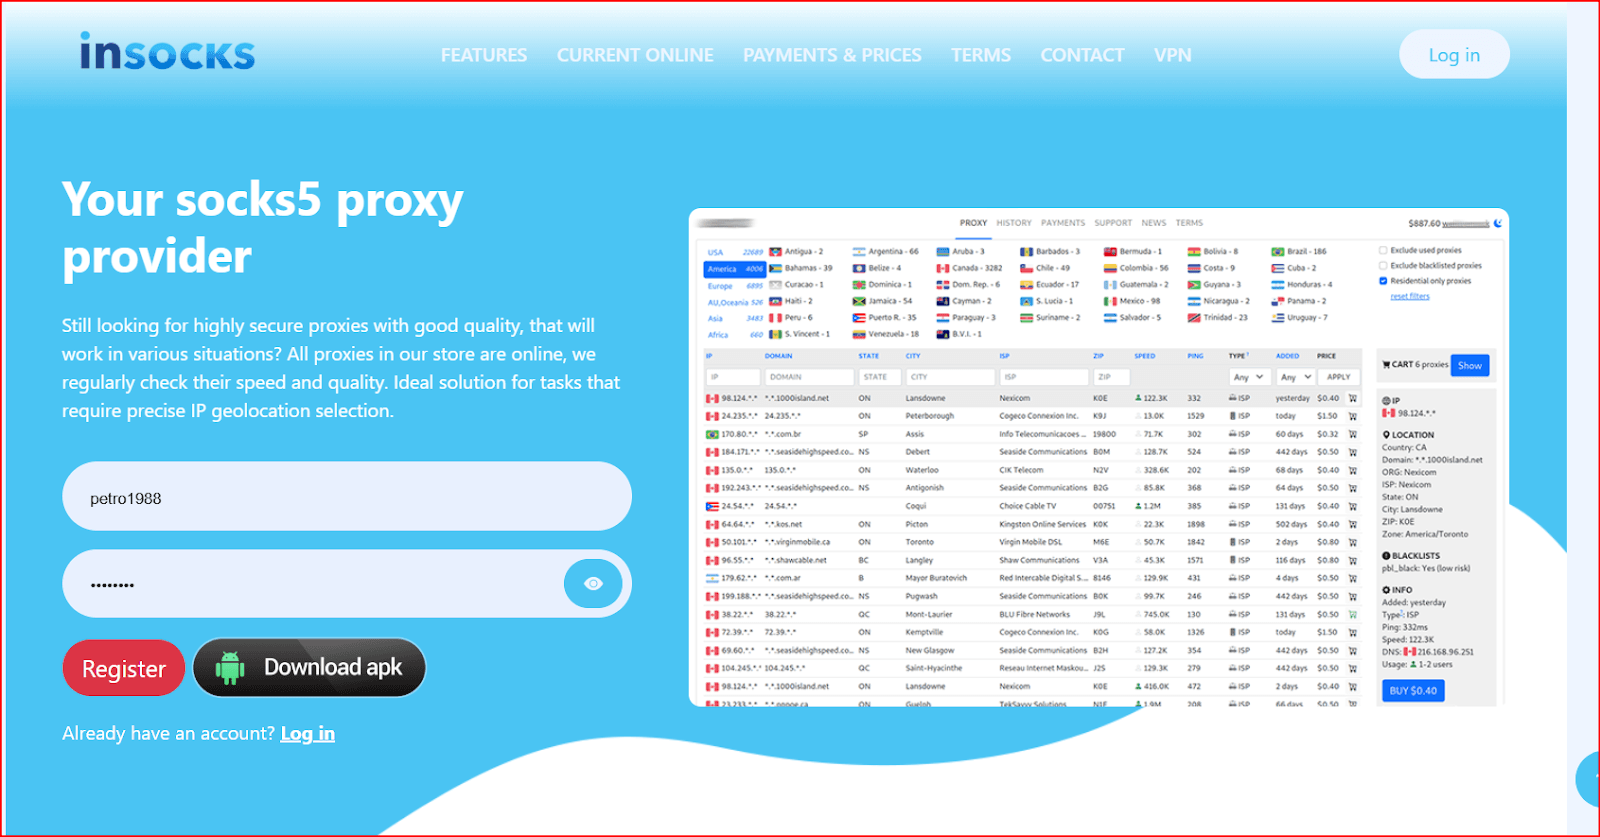
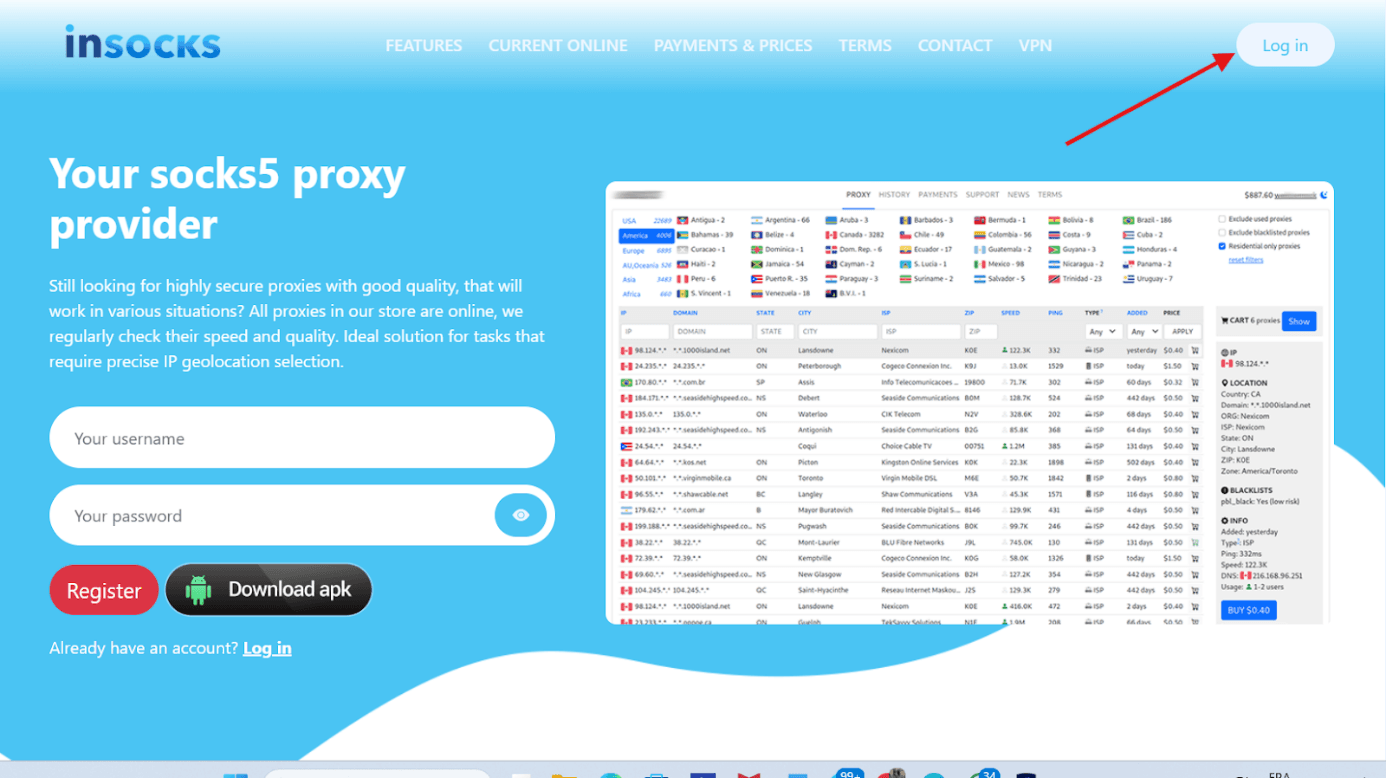
How to Integrate INSOCKS with BitBrowser: A Step-by-Step Guide for Secure Browsing
 2025.12.22 06:30
 petro
petroWhat is BitBrowser?
BitBrowser is a high-performance, multi-functional web browser designed to enhance efficiency and productivity. It enables users to browse the internet, manage multiple accounts, and stay updated with real-time feeds all in one place.
Key features of BitBrowser:
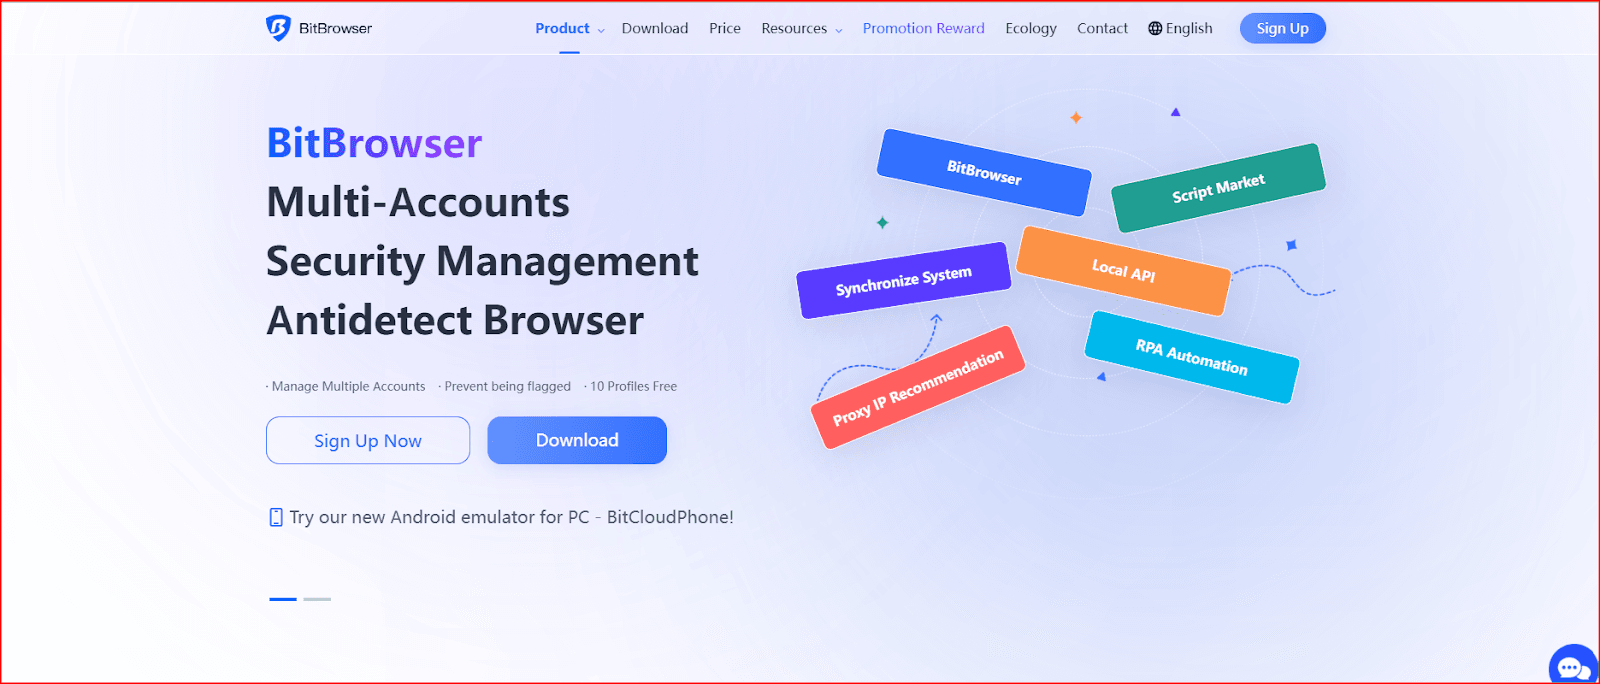
- Free to use
- Fast browsing experience
- Secure for safe online activities
- Compatible across multiple devices
These features make BitBrowser a great choice for both casual browsing and professional tasks like marketing, automation, and account management.
How to Set Up INSOCKS in BitBrowser
Follow these steps to integrate INSOCKS with BitBrowser:
1. Download and Install BitBrowser
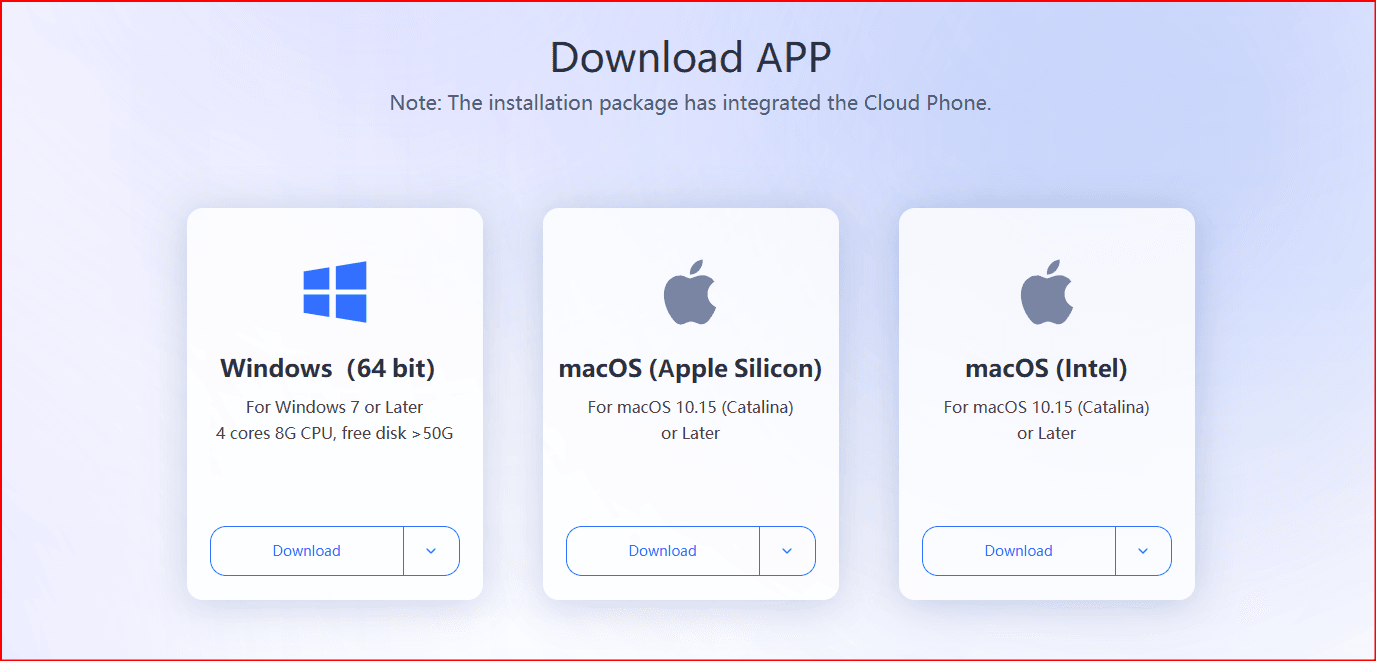
- Download BitBrowser from the official website.
- Follow the installation prompts to complete the installation process on your device.
2. Create or Log Into Your BitBrowser Account
- Open BitBrowser and either create a new account or log into your existing account.
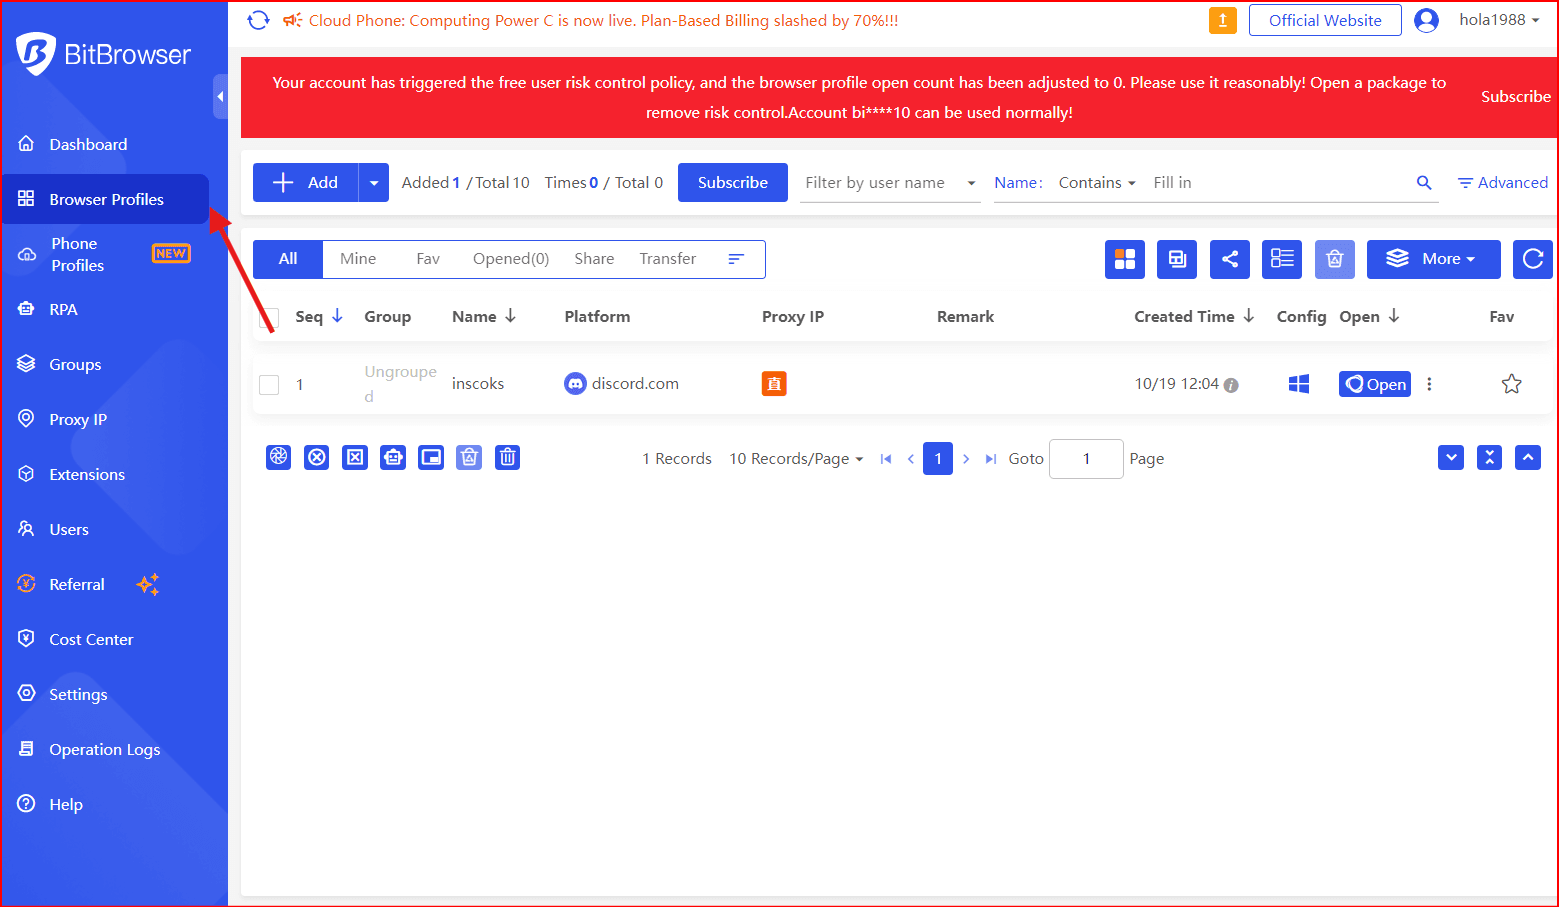
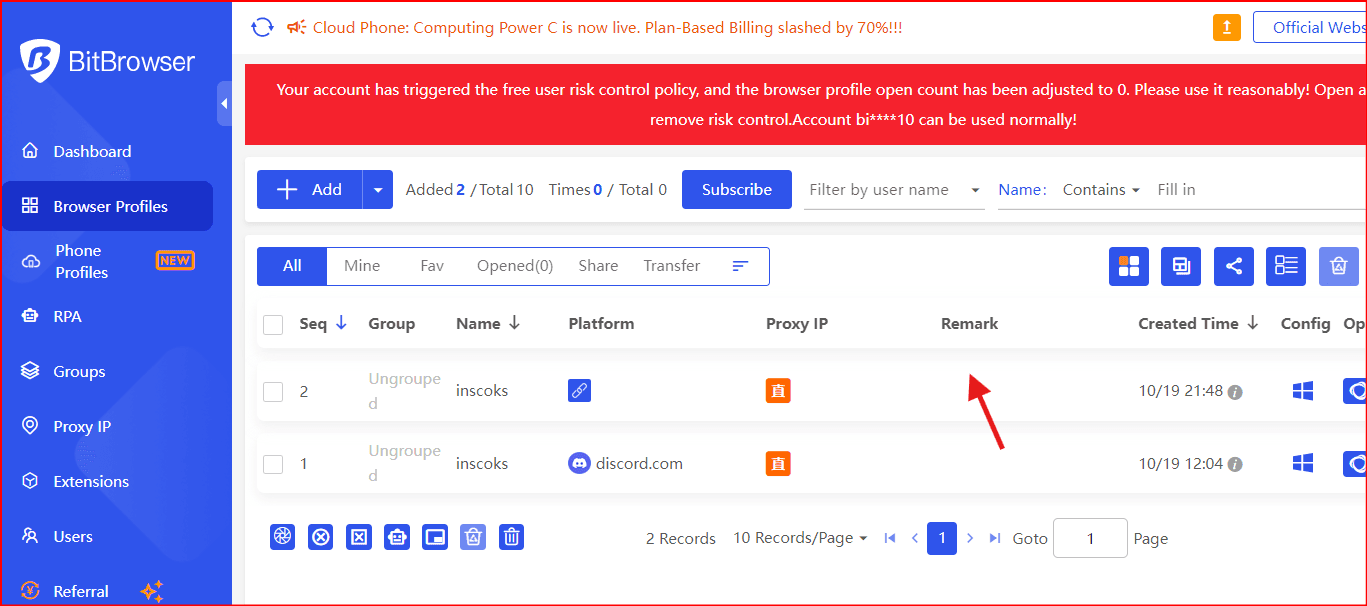
3. Access the Browser Profiles Section
- Navigate to the "Browser Profiles" tab.
- Click the “Add +” button to create a new browser profile.
4. Configure Your New Profile
- Scroll down to the Proxy section.
- Set it to "Update Prox".
- Set the proxy to "custom".
5. Select the Appropriate Proxy Type
- In the "Proxy Type" dropdown, choose the proxy type that corresponds to your INSOCKS plan.
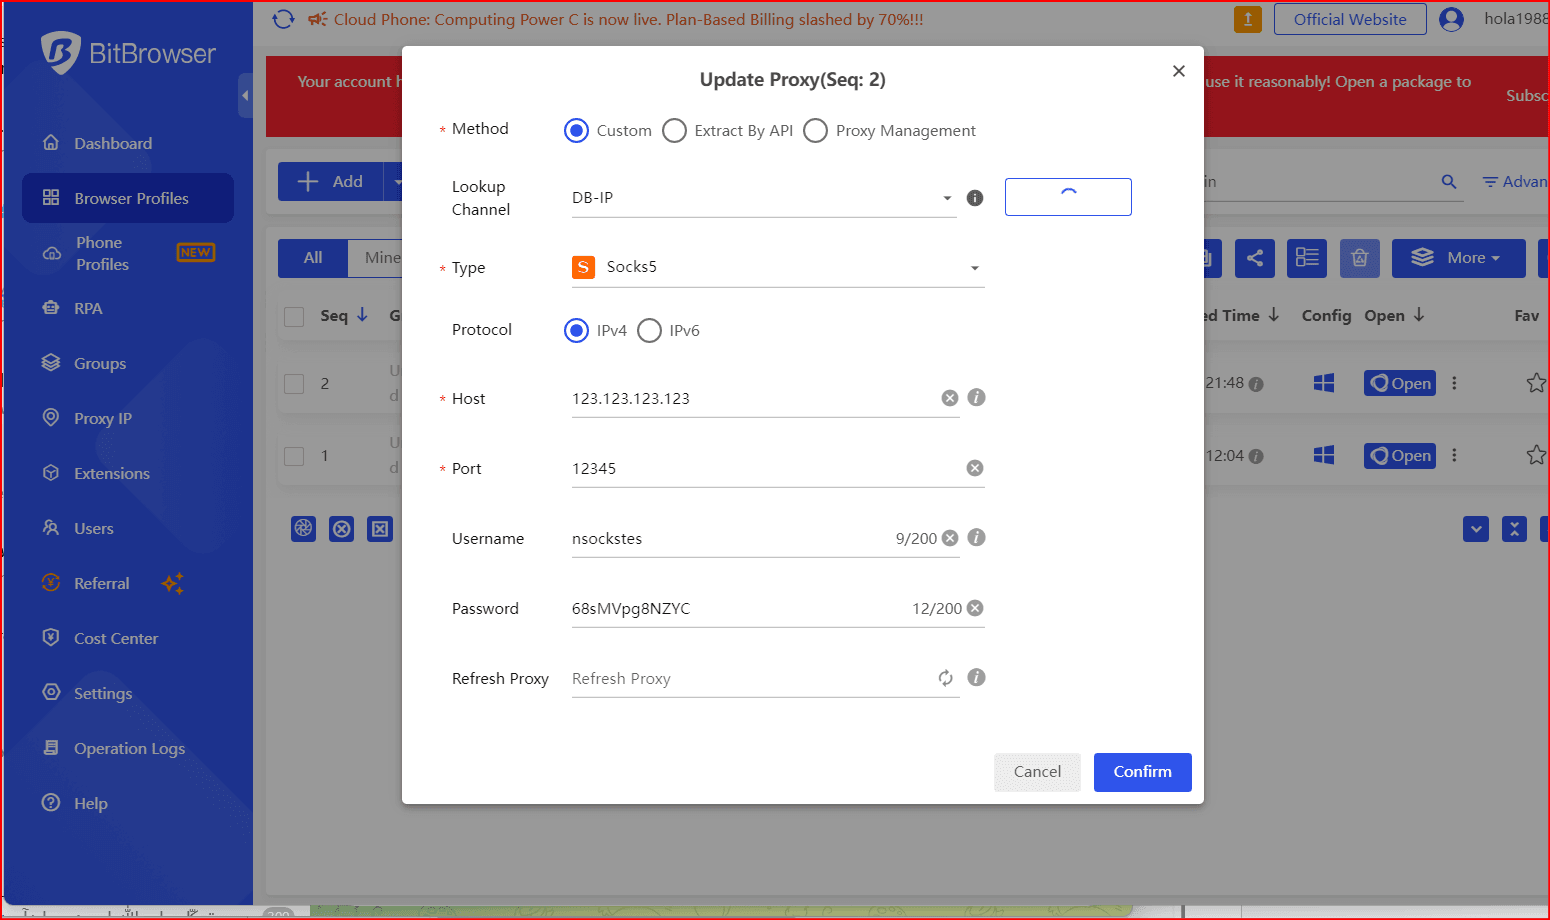
6. Enter INSOCKS Proxy Details
- Enable the Proxy server option.
Enter your INSOCKS proxy details:
- Proxy Type: SOCKS5 (INSOCKS primarily supports SOCKS5)
- IP Address: The IP provided in your INSOCKS purchase (found under History)
- Port: Corresponding port number from your INSOCKS account
- Username: Your INSOCKS login (set under Profile → Change SOCKS5 login)
- Password: Your INSOCKS password
Your full proxy connection string will look like this:
login:password@IP:PORT
7. Test the Proxy
- Click Test Proxy to verify the connection.
- If the test shows valid IP information, click Confirm, then click Save.
8. Save the Profile
- Once everything is set up correctly, click Save Profile to lock in your settings.
How to Buy a Proxy on INSOCKS.net (Step-by-Step)
1. Open the Site
- Go to the official INSOCKS website: insocks.com.
2. Register an Account
- Click Register (no email required).
- Create a login (5–20 characters) and a password (8–30 characters).
- After registration, you can deposit funds and start purchasing proxies.
3. Make a Deposit
- Minimum Deposit: $50 (for new users)
- Accepted payment methods: Bitcoin (BTC) and Litecoin (LTC).
- Deposit through the Payments/Billing section on the website.
4. Find Available Proxies
- Go to the Current Online section to explore available proxies.
- You can filter proxies by:
- Country
- City
- ISP
- Type (Mobile, Residential, Datacenter)
- Each proxy entry will display real-time availability and connection type.
5. Buy a Proxy
- Click on any proxy row to purchase it.
- The cost (typically $0.5–$0.8 per 24 hours) will be automatically deducted from your balance.
- Once purchased, your proxy remains active for 24 hours.
6. Check Your Purchased Proxies
- Visit the History section to:
- View your purchased proxies.
- Check IP and port details.
- Manage actions like refunds, notes, or auto-renew.
7. Enable Auto-Renewal (Optional)
- In the History section, enable Auto-Renew to automatically repurchase the same proxy every day (if it remains available).
8. Authentication Format
Use this format when setting up your proxy:
login:password@IP:PORT- Supported protocols: SOCKS4, SOCKS5
9. Refunds & Claims
- If a proxy goes offline within 2 hours of purchase, you can request a refund.
- Simply click Refund or open a support ticket for assistance.
- Refunds follow INSOCKS’s internal rules, which may include small fees or conditions.
10. Support & Contact
- Jabber: support@nsocks.org
- Telegram: @insocks
- Ticket System: Use the platform’s ticket system for refund or account issues.
 Multi-Account Management
 Prevent Account Association
 Multi-Employee Management
Recommended
See More ![]()