How to Create a Gmail Account Without Phone Number (2026 Guide)
 2026.04.10 13:53
 YT.Shi
Google really, really wants a phone number. Not always. But often. Especially if you’re creating multiple accounts, you’re on a sketchy network, or you’ve been clicking around too fast and triggered their spam radar. Still, it’s absolutely possible to create a Gmail account without adding a phone number in 2026. This guide shows you the legit ways that usually work.
Quick Reality Check Before You Start
Before we start, a quick reality check:
● Google can ask for a number at signup or later (like during login verification).
● Some regions, devices, and IPs get flagged more often.
● If Google hard requires a number, there’s no magic button to bypass it every time. What you can do is change the conditions.
What you’ll get here:
● A step by step signup flow (desktop + mobile) that often lets you skip phone
● How to keep the account stable afterward so it doesn’t ask later
Alright. Let’s do the approach that works most often first.
How to Create a Gmail Account Without Phone Number (2026 Guide)
Method 1: Mobile Browser Signup
This is the one that surprises people. Creating a Gmail account from a mobile browser (not the Gmail app) still frequently shows the phone number as optional.
Step by step (Android or iPhone, using a browser)
1. Open a mobile browser: Chrome, Safari, Firefox, Brave, anything reputable.
2. Go to the official signup page: https://accounts.google.com/signup
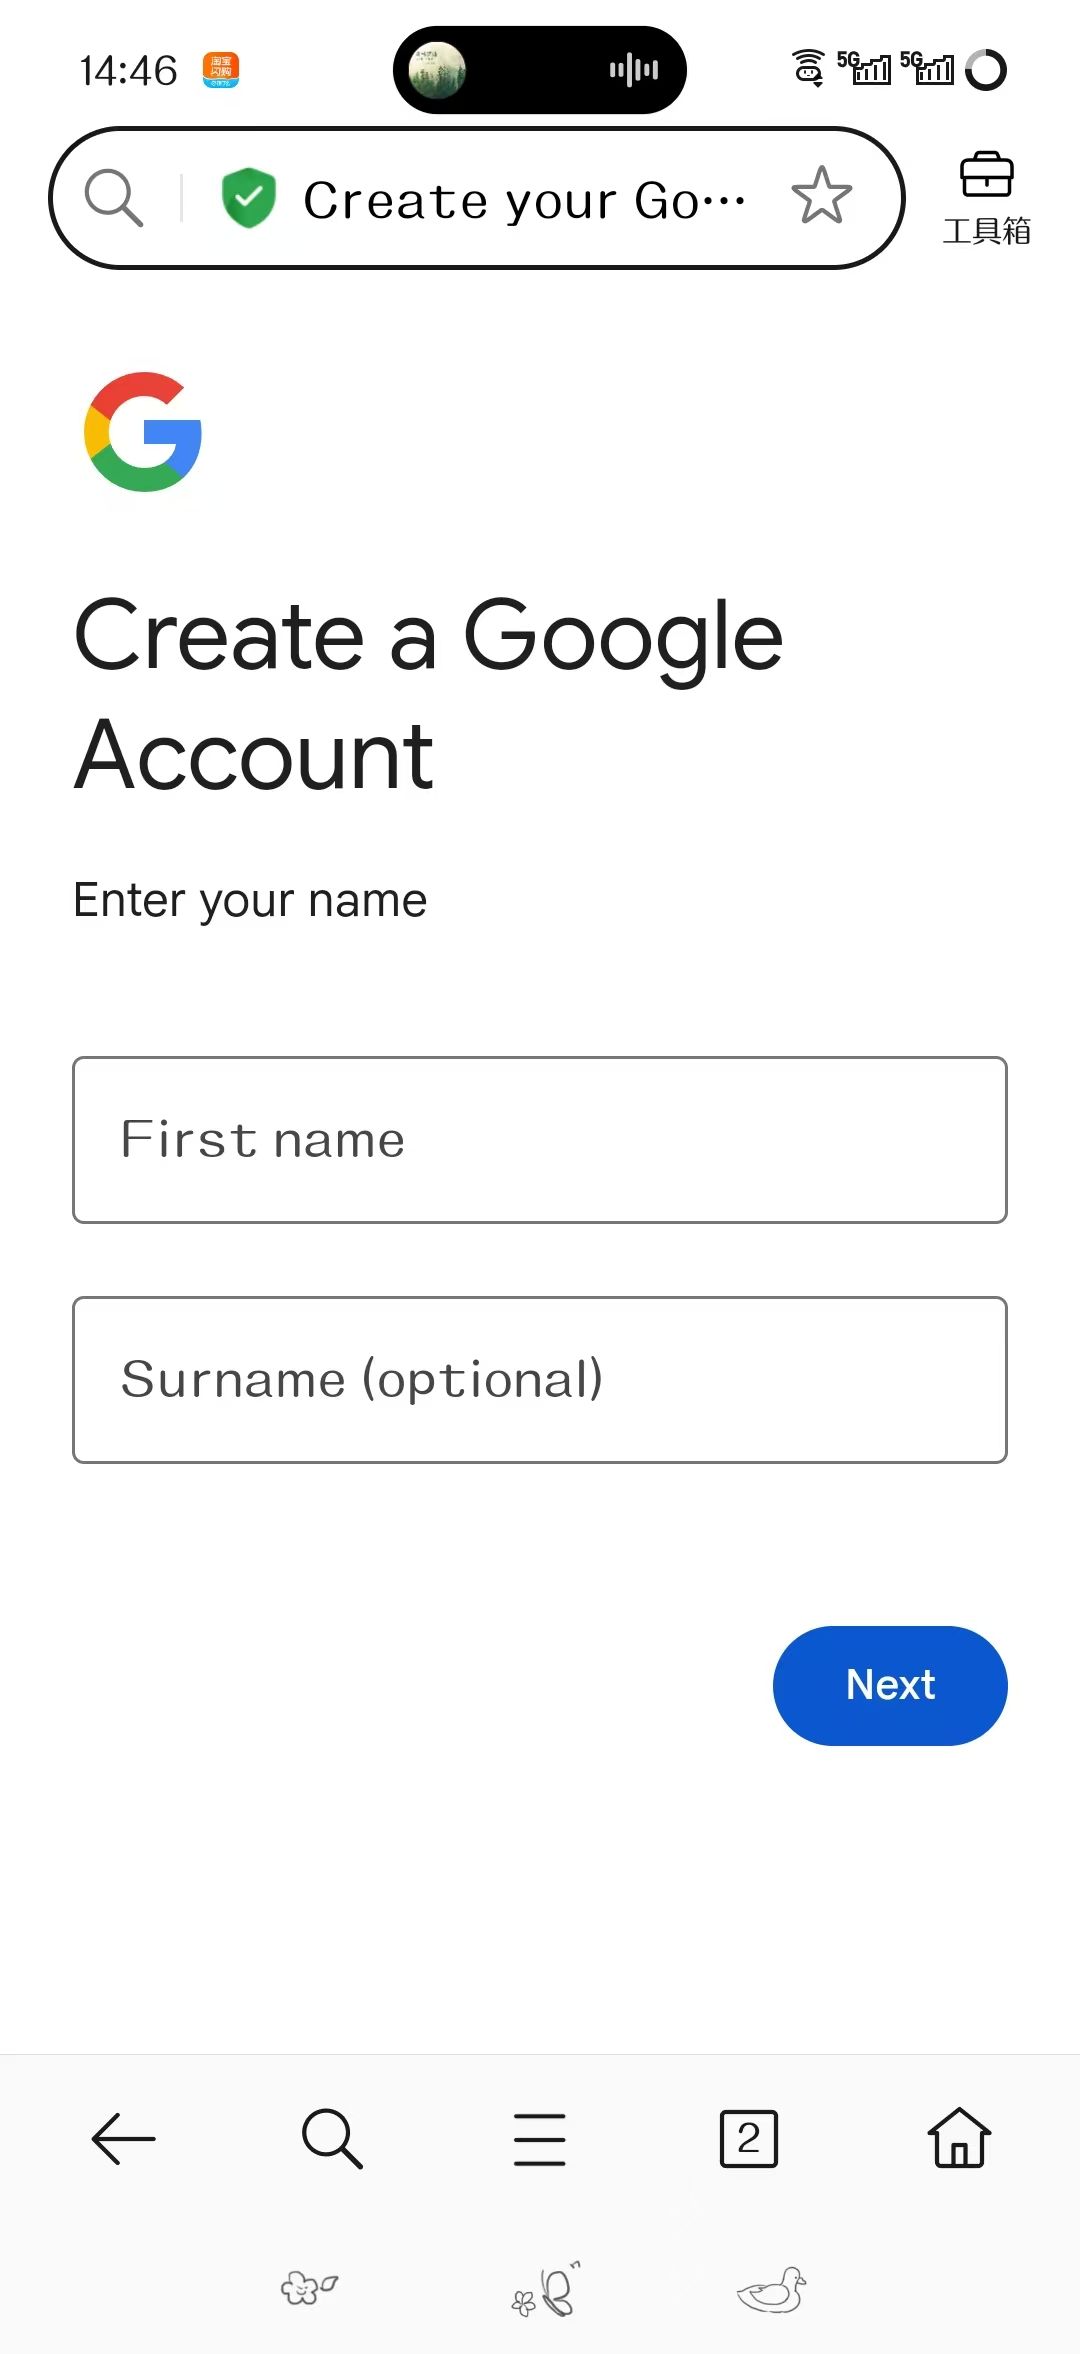
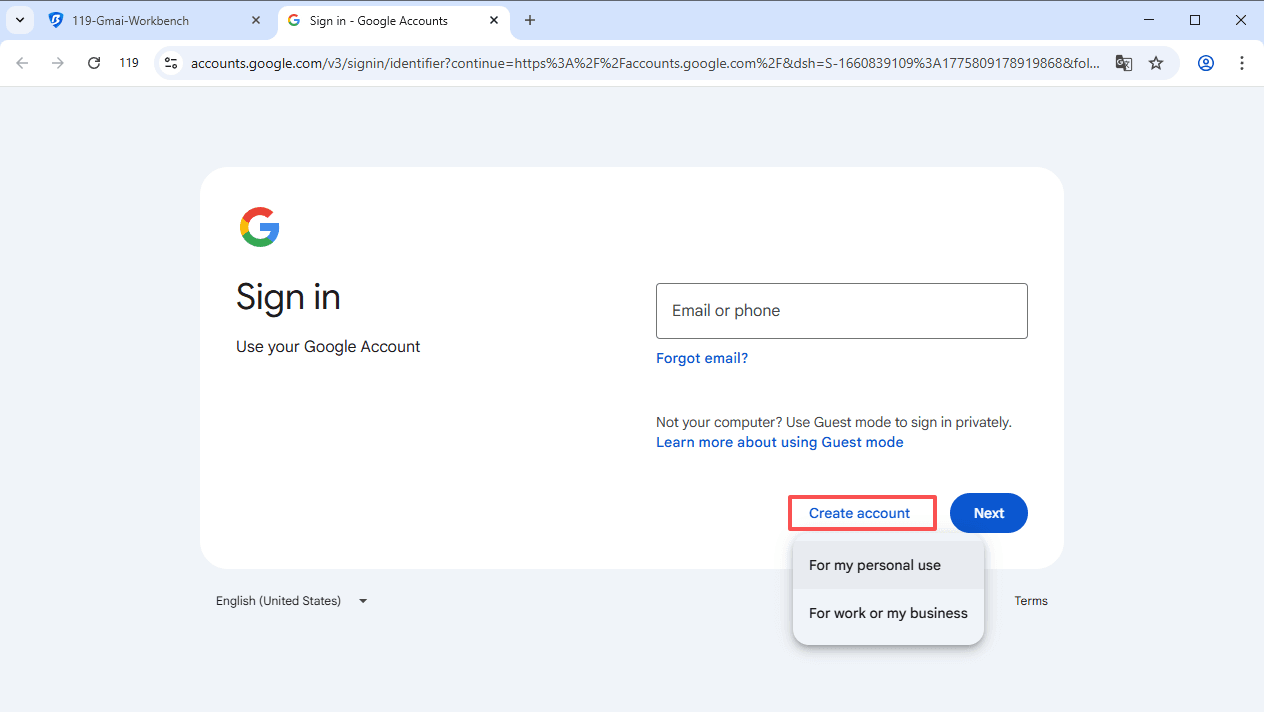
3. Choose: For my personal use
4. Enter your name details: First name, Last name (last name can be blank sometimes, depends on UI variation).
5. Enter your birthdate and gender. Use real-ish info you can remember later. Don't make it weird.
6. Choose your Gmail address. If you're seeing lots of "That username is taken", don't spam attempts. Slow down.
7. Create a strong password.
Now the key moment.
Phone number verification (step 8)
When you reach Phone number:
● Look carefully for Skip.
● Sometimes it appears as a small text link.
● Sometimes the page shows phone, but you can hit Next with it empty.
Final steps (9-10)
● If it lets you continue: Add a recovery email if you have one (optional but strongly recommended).
● Accept the terms, and you're in.
If "Skip" isn't showing
Don't brute force it yet. Instead:
● Back out one step, wait 20 to 30 seconds, then continue.
● Refresh the page once (not repeatedly).
● Switch to a different mobile browser.
● Turn off any VPN or proxy (Google hates these during signup).
Why this works: mobile web signups often get a slightly different risk score than desktop signups, and Google sometimes treats phone as optional when the session looks normal and low risk.
If this didn't work and you're being forced into adding a phone, don't panic. Next section is about controlling the variables that make Google demand it.
Method 2: Environment Isolation (Antidetect Browsers & Residential Proxies)
For professionals, "luck" isn't a strategy. Google’s AI analyzes your Browser Fingerprint (Canvas, WebGL, AudioContext, etc.) and your IP reputation to decide whether to force a phone check.
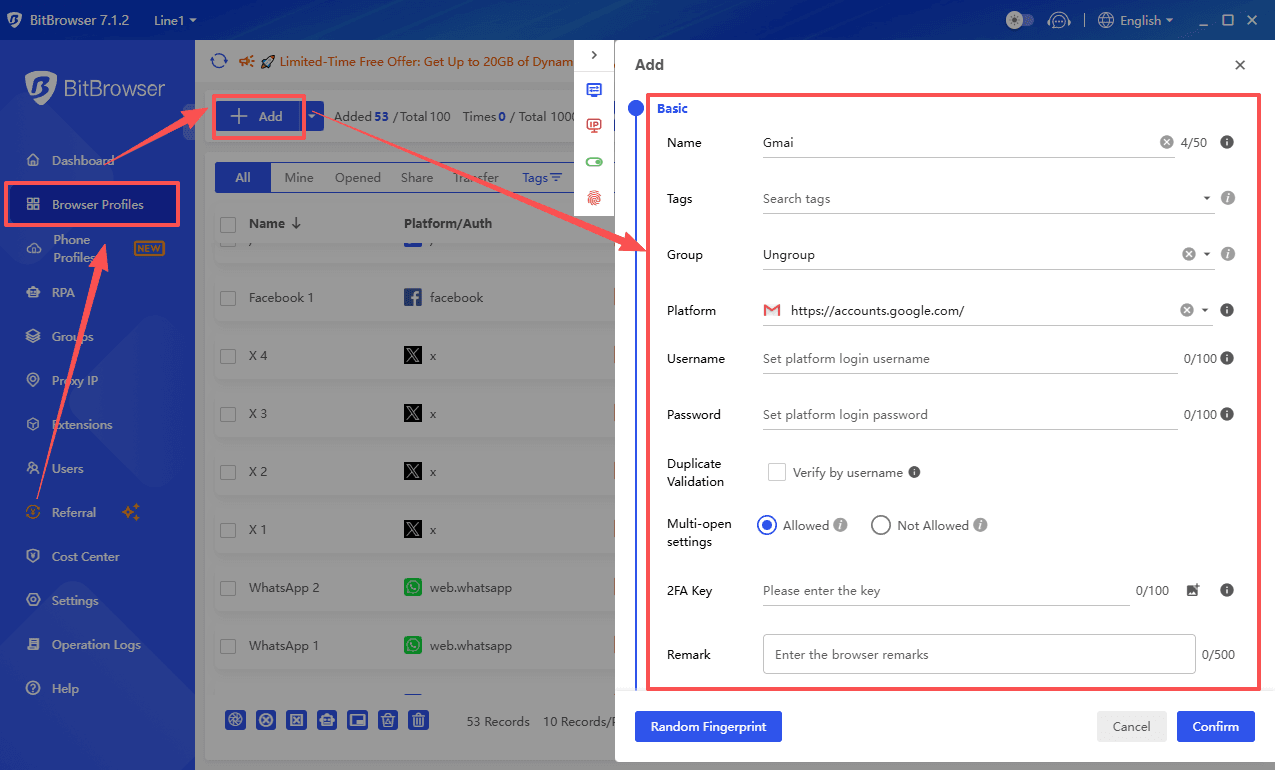
Step 1: Create a Clean Environment with BitBrowser
Google tracks your history through browser fingerprints. Instead of manually clearing cookies, use BitBrowser to create a completely isolated profile.
● Why it works: BitBrowser generates a unique virtual identity (Canvas, WebGL, etc.), making Google see you as a brand-new user on a fresh device, which is key to triggering the "Skip" option.
Sign up
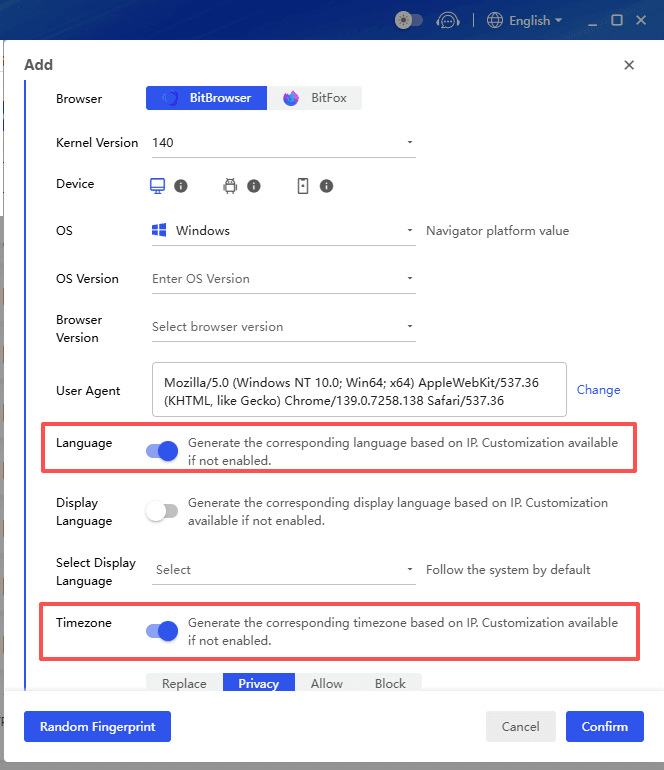
Step 2: Align IP, Language, and Timezone
A mismatch between your IP and browser settings is a major red flag.
● The Setup: Match your browser language and system time to your proxy's location (e.g., US IP = English US).
● The Tool: BitBrowser can auto-align these settings for you. Verify your "Anonymity Score" on Whoer.net before starting to ensure no leaks.
Step 3: The Registration Process
1. Launch your BitBrowser profile and head to the Gmail signup page.
2. Select "For my personal use" and enter your name and birthday.
3. Pro Tip: Choose a "human-like" username. Avoid random strings of numbers that look like bot activity.
Sign up
Step 4: The "Skip" Moment
If your environment is deemed "trustworthy," you will reach the phone number page with the field labeled (Optional).
● Action: Leave the phone field blank.
● Crucial: Provide a Recovery Email (use Outlook or Proton). This provides a backup security method, making Google less likely to demand a phone number later.
Step 5: Maintain Account Stability
Once registered, don't log out immediately. Keep the BitBrowser profile active and visit a few normal websites. This builds a "cookie history," ensuring your new Gmail remains stable and doesn't trigger a "suspicious activity" check later.
Method 3: Google Workspace (Business/Enterprise Solution)
If you own a domain (e.g., @yourcompany.com), you can bypass the personal Gmail registration filters entirely.
How to do it:
1. Sign up for a Google Workspace account.
2. Access the Google Admin Console.
3. Navigate to Directory > Users > Add new user.
Why it works: Because Workspace is a paid service, Google assumes the administrator has already verified the legitimacy of the organization. You can create multiple user aliases and accounts without providing a unique phone number for every single one.
Method 4: Create a Google Account first, then add Gmail later (sometimes helps)
This doesn't always avoid phone, but sometimes changes the flow.
Steps:
1. Go to: https://accounts.google.com/signup
2. If you see an option like "Use my current email address instead", select it.
3. Sign up using an existing email (non Gmail).
4. Once the Google Account exists, go to Google account settings and try to add Gmail as an alias or create a Gmail address (UI varies, may route you to Gmail setup).
This method is inconsistent in 2026, but it can reduce friction if the "Gmail signup" flow is the one demanding phone.
Method 5: Third-Party SMS Verification Platforms (The Last Resort)
If Google "hard-locks" the registration and requires a number, you can use a temporary SMS service.
How to do it:
● Use platforms like SMS-Activate, 5Sim, or PingMe.
● Select "Google/Gmail" as the service and choose a country that matches your proxy location.
● Receive the code, verify the account, and immediately proceed to the security settings.
The Catch: These numbers are "one-time use." If Google triggers a "suspicious login" check a week later and asks to text that same number, you will be locked out. Only use this for "disposable" accounts.
After you create Gmail without a phone: secure it so you don't get locked out
Creating the account is one thing. Keeping it usable is the real game.
If you skip phone verification, Google will lean harder on other signals to confirm you're the owner later. So you should set up recovery and security properly right away.
1. Add a recovery email
Go to Google Account → Security, find Recovery email, and add an email you already control and can access quickly.
Why it matters: If Google flags a login as suspicious, recovery email is often enough. It also helps if you forget your password.
2. Turn on 2 Step Verification (without SMS)
You can do 2FA without a phone number.
Use either: An authenticator app (TOTP) like Google Authenticator, Microsoft Authenticator, or Authy; passkeys (device based); or a security key (USB/NFC key).
Steps: Go to Google Account → Security → 2 Step Verification. Choose authenticator app (recommended) or passkey.
If Google asks you to add a phone during 2 Step Verification: Skip SMS method and look for authenticator or passkey option. If it refuses, at least add recovery email first and set passkeys if available.
3. Save backup codes
In 2 Step Verification settings, generate Backup codes and save them in a password manager or offline note.
4. Complete basic profile signals
This sounds silly, but it helps stability. Add a profile name, add a profile picture (optional), and log in on your main device and stay logged in.
Summary
In 2026, you can create a Gmail account without a phone number by using mobile browsers or tools like BitBrowser. BitBrowser isolates your browser environment and aligns IP, language, and timezone to make Google see you as a new user, increasing the chance to skip phone verification.
After successfully creating the account, maintain stability by adding a recovery email, enabling two-factor authentication without SMS, saving backup codes, and keeping consistent login activity. Businesses can also use Google Workspace to create multiple accounts without providing personal phone numbers.
Sign up
FAQs (Frequently Asked Questions)
Can I create a Gmail account without providing a phone number in 2026?
Yes, it's possible to create a Gmail account without adding a phone number in 2026 by understanding when Google requires it and using specific signup methods, such as signing up via a mobile browser where the phone number is often optional.
Why does Google sometimes require a phone number during Gmail signup?
Google's phone number request is risk-based. It often appears if you're creating multiple accounts quickly, using sketchy networks like public Wi-Fi or VPNs, or if Google's spam radar is triggered due to rapid clicks or suspicious activity.
What should I do if Google forces me to verify my phone number during account creation?
If forced to verify your phone number, try creating the account on a different network and device combination—for example, switch from Wi-Fi to mobile data or use another device. This approach can sometimes bypass mandatory phone verification legitimately.
How can I keep my new Gmail account stable so Google doesn't ask for my phone number later?
To maintain account stability and reduce future phone prompts, provide accurate personal information during signup, add a recovery email if possible, avoid suspicious activities like rapid username attempts or using VPNs excessively, and use your account normally on trusted devices and networks.
 Multi-Account Management
 Prevent Account Association
 Multi-Employee Management
Recommended
See More ![]()