How to Install OpenClaw in 2026: Windows, macOS, Linux, and WSL2 Setup Guide
 2026.06.28 12:25
 petro
petroOpenClaw is an open-source AI agent platform designed to automate tasks on your computer through agents and installable skills. Because it can interact with local systems and execute workflows, installing it correctly — and securely — is important.
According to the official OpenClaw documentation, OpenClaw supports macOS, Linux, Windows, and WSL2. The recommended requirement is Node 24, although Node 22.19+ is also supported, and the official installer can handle Node installation automatically.
1. OpenClaw System Requirements
Before installing OpenClaw, make sure your system meets these basic requirements:
| Requirement | Details |
|---|---|
| Operating system | Windows, macOS, Linux, or WSL2 |
| Node.js | Node 24 recommended, Node 22.19+ supported |
| Terminal access | PowerShell, Terminal, Bash, or WSL2 |
| Internet connection | Required for downloading installer files |
| Admin/root access | Usually not required for the standard installer |
The official GitHub documentation says OpenClaw installer scripts can install Node if needed and then install OpenClaw through npm or Git, depending on the installation mode.
2. Fastest Way to Install OpenClaw
The easiest method is to use the official installer script. It detects your operating system, installs required dependencies, installs OpenClaw, and launches onboarding.
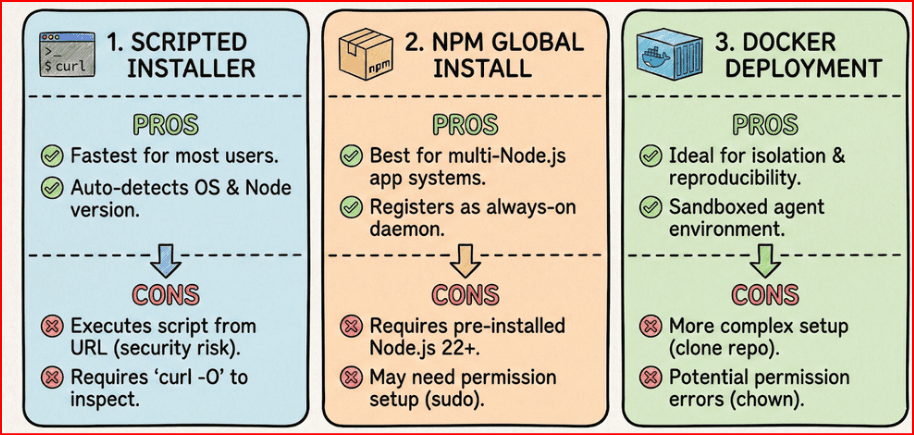
Install OpenClaw on macOS, Linux, or WSL2
Open your terminal and run:
curl -fsSL https://openclaw.ai/install.sh | bash
This is the recommended method for macOS, Linux, and WSL2 users.
Install OpenClaw on Windows with PowerShell
Open PowerShell and run:
iwr -useb https://openclaw.ai/install.ps1 | iex
Windows users can also use the native Windows Hub app or WSL2 Gateway, according to the official documentation.
3. Install OpenClaw Without Onboarding
The normal installer starts the onboarding process automatically. To install OpenClaw without launching onboarding, use the no-onboard option.
macOS, Linux, or WSL2
curl -fsSL https://openclaw.ai/install.sh | bash -s -- --no-onboard
Windows PowerShell
& ([scriptblock]::Create((iwr -useb https://openclaw.ai/install.ps1))) -NoOnboard
These commands are listed in the official French OpenClaw install documentation.
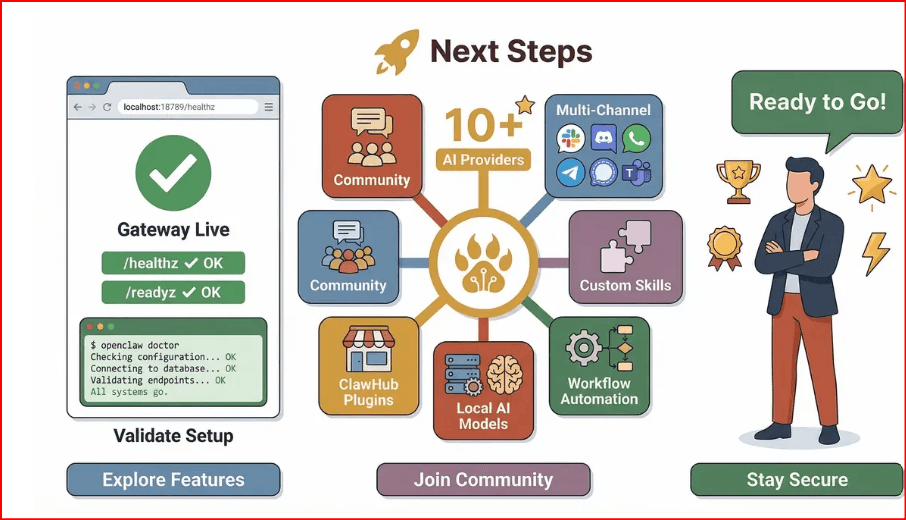
4. Verify the Installation
After installation, restart your terminal and check whether OpenClaw is available.
openclaw --version
You can also try:
openclaw
If the command is not recognized, restart your terminal or check whether the OpenClaw path was added correctly.
5. Install OpenClaw from Source
Advanced users can build OpenClaw manually from source. The official documentation notes that pnpm is only needed if you build from source, not for the standard installer method.
A typical source-based workflow looks like this:
git clone https://github.com/openclaw/openclaw.git
cd openclaw
pnpm install
pnpm build
Use this method only if you need development access, custom modifications, or want to inspect the full code before running it.
6. Important Security Tips Before Installing Skills
OpenClaw can become powerful because of skills, but skills can also introduce risk. A recent security report said researchers found malicious OpenClaw skills on ClawHub, including macOS infostealers and commission-fraud behavior; the reported malicious skills were removed, but the incident highlights the need to verify skill sources carefully.
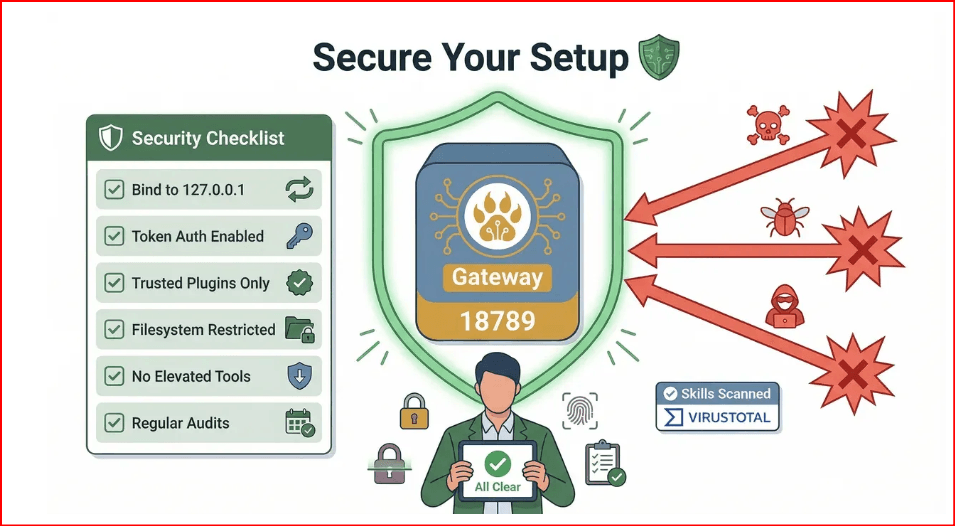
Follow these safety practices:
- Install OpenClaw only from the official documentation or official GitHub repository.
- Avoid running unknown install scripts from random blogs or forums.
- Review skills before installing them, especially if they request file, browser, wallet, or system access.
- Do not store API keys, passwords, or private tokens inside untrusted skills.
- Keep OpenClaw updated to receive security fixes.
7. Common Installation Problems
“Node version is too old”
Install Node 24 or let the official installer handle Node setup automatically.
“Command not found”
Close and reopen your terminal. If the issue continues, check whether OpenClaw was added to your system PATH.
PowerShell blocks the script
Run PowerShell as administrator or adjust execution permissions temporarily, then retry the official install command.
Linux permission issues
Avoid using random sudo commands unless the official documentation asks for them. The OpenClaw CLI installer can install into a local prefix such as ~/.openclaw without root access.
Conclusion
Installing OpenClaw is straightforward on Windows, macOS, Linux, and WSL2. The official installer is the best option for most users because it detects the operating system, installs Node when needed, installs OpenClaw, and starts onboarding automatically.
For safe usage, treat OpenClaw like any powerful automation platform: install only from official sources, review every skill carefully, and avoid giving untrusted skills access to sensitive files, accounts, or API keys.

 Multi-Account Management
 Prevent Account Association
 Multi-Employee Management
Recommended
See More